Grant Cottage Typewriter Project
By Scott Connors
Stephentown Typewriter Co.

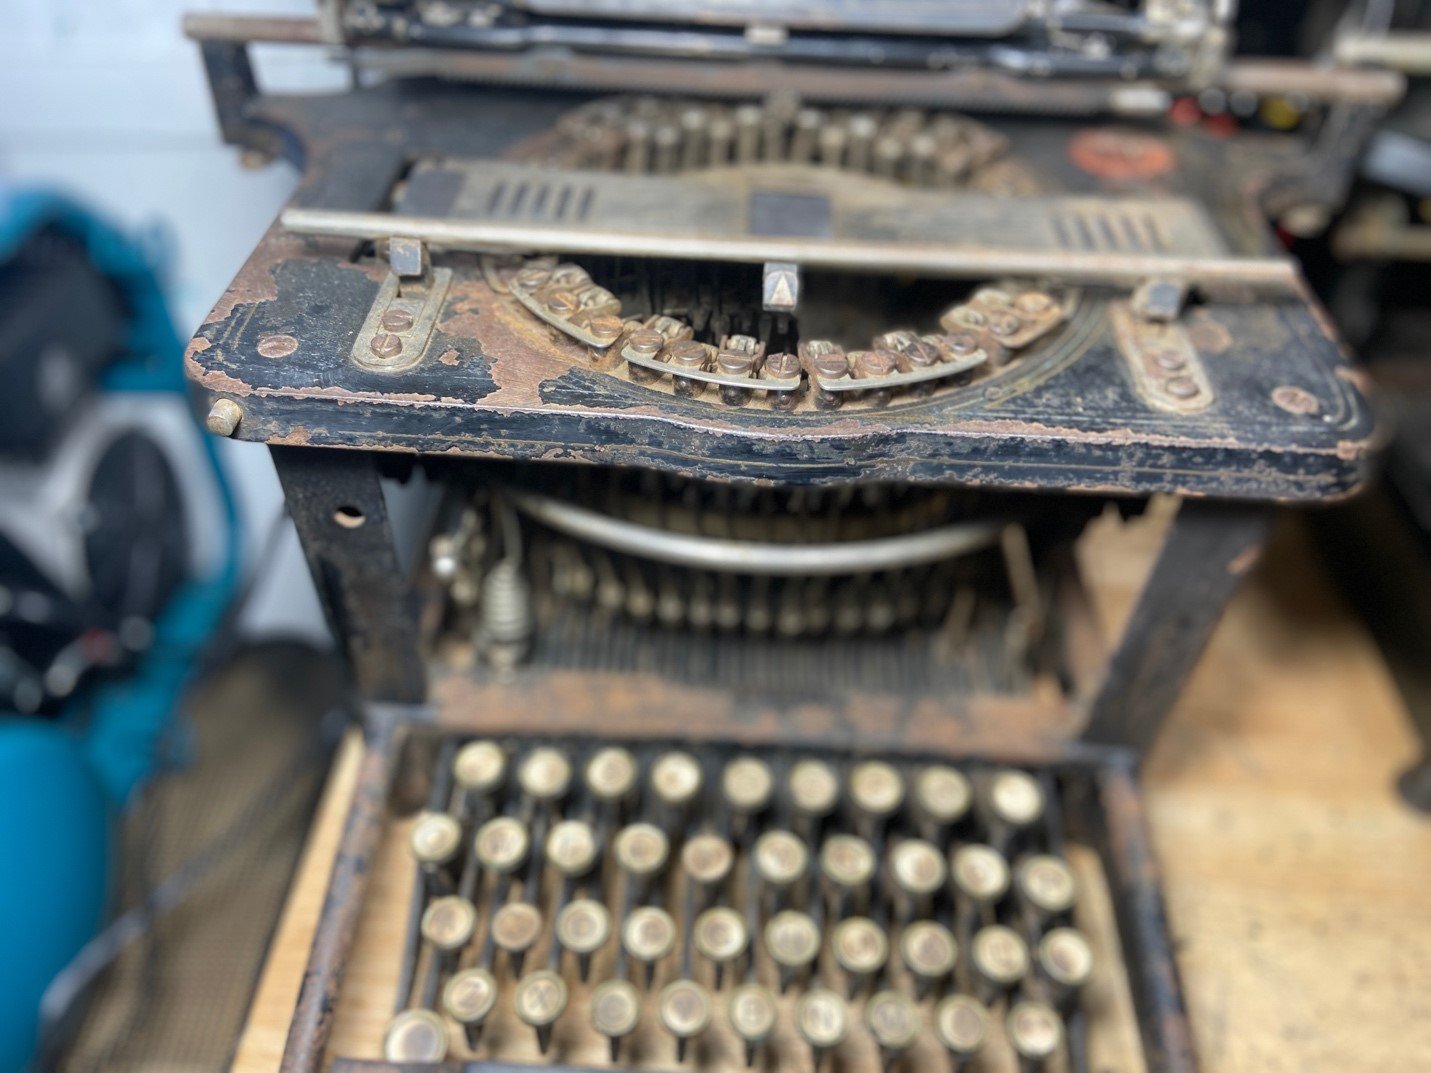
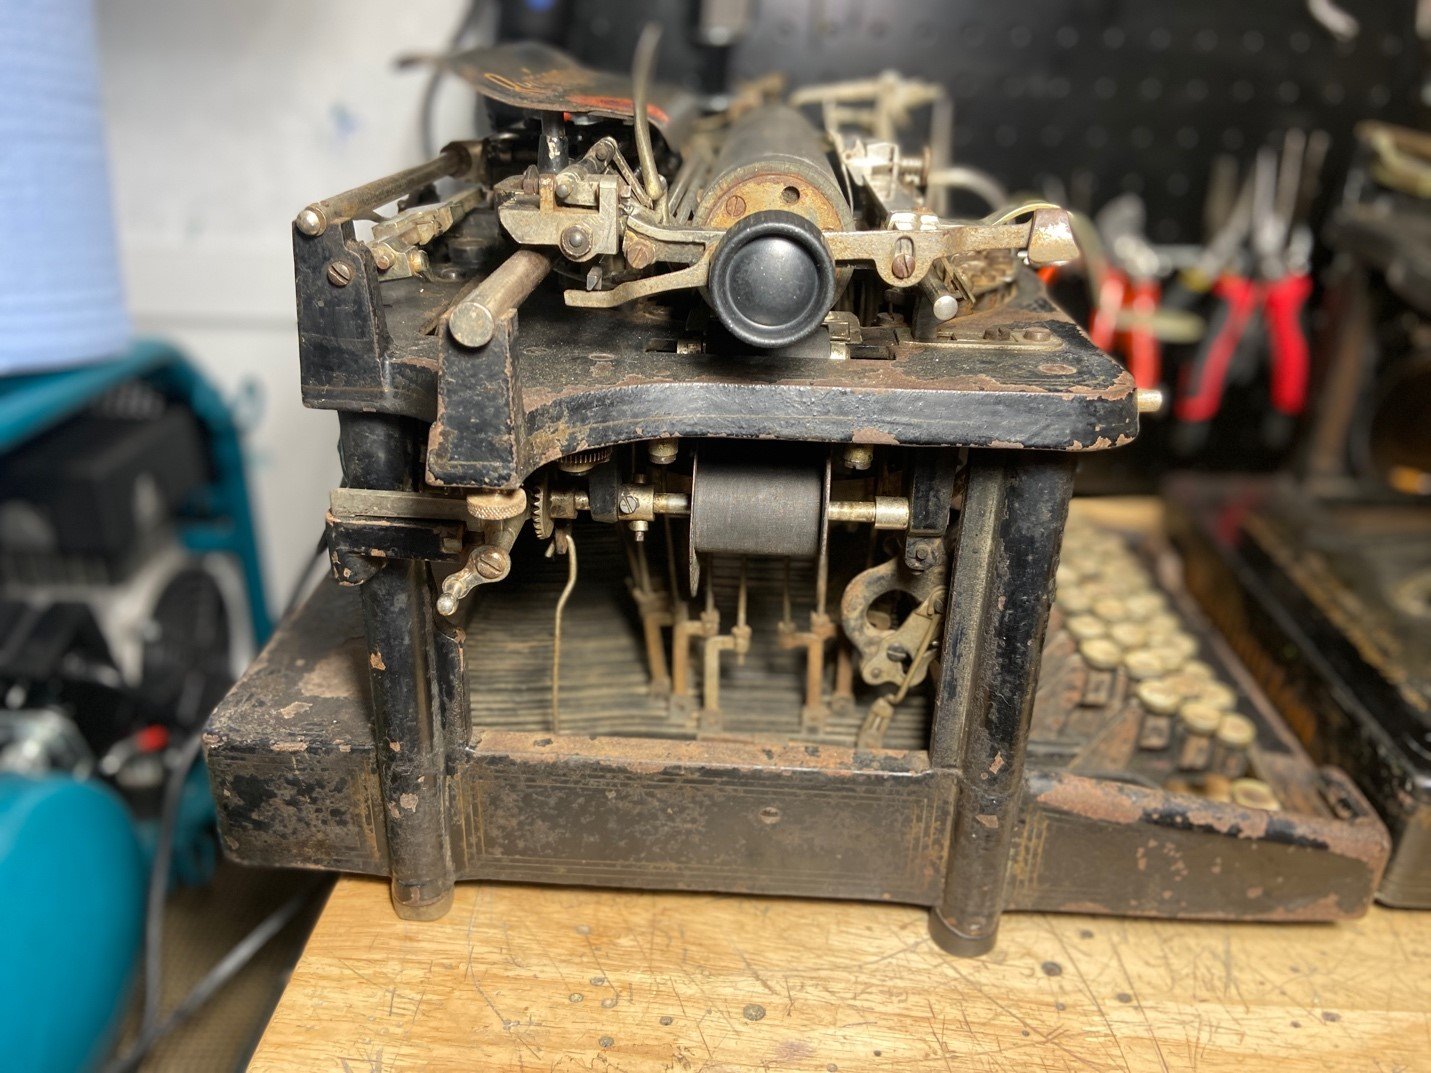
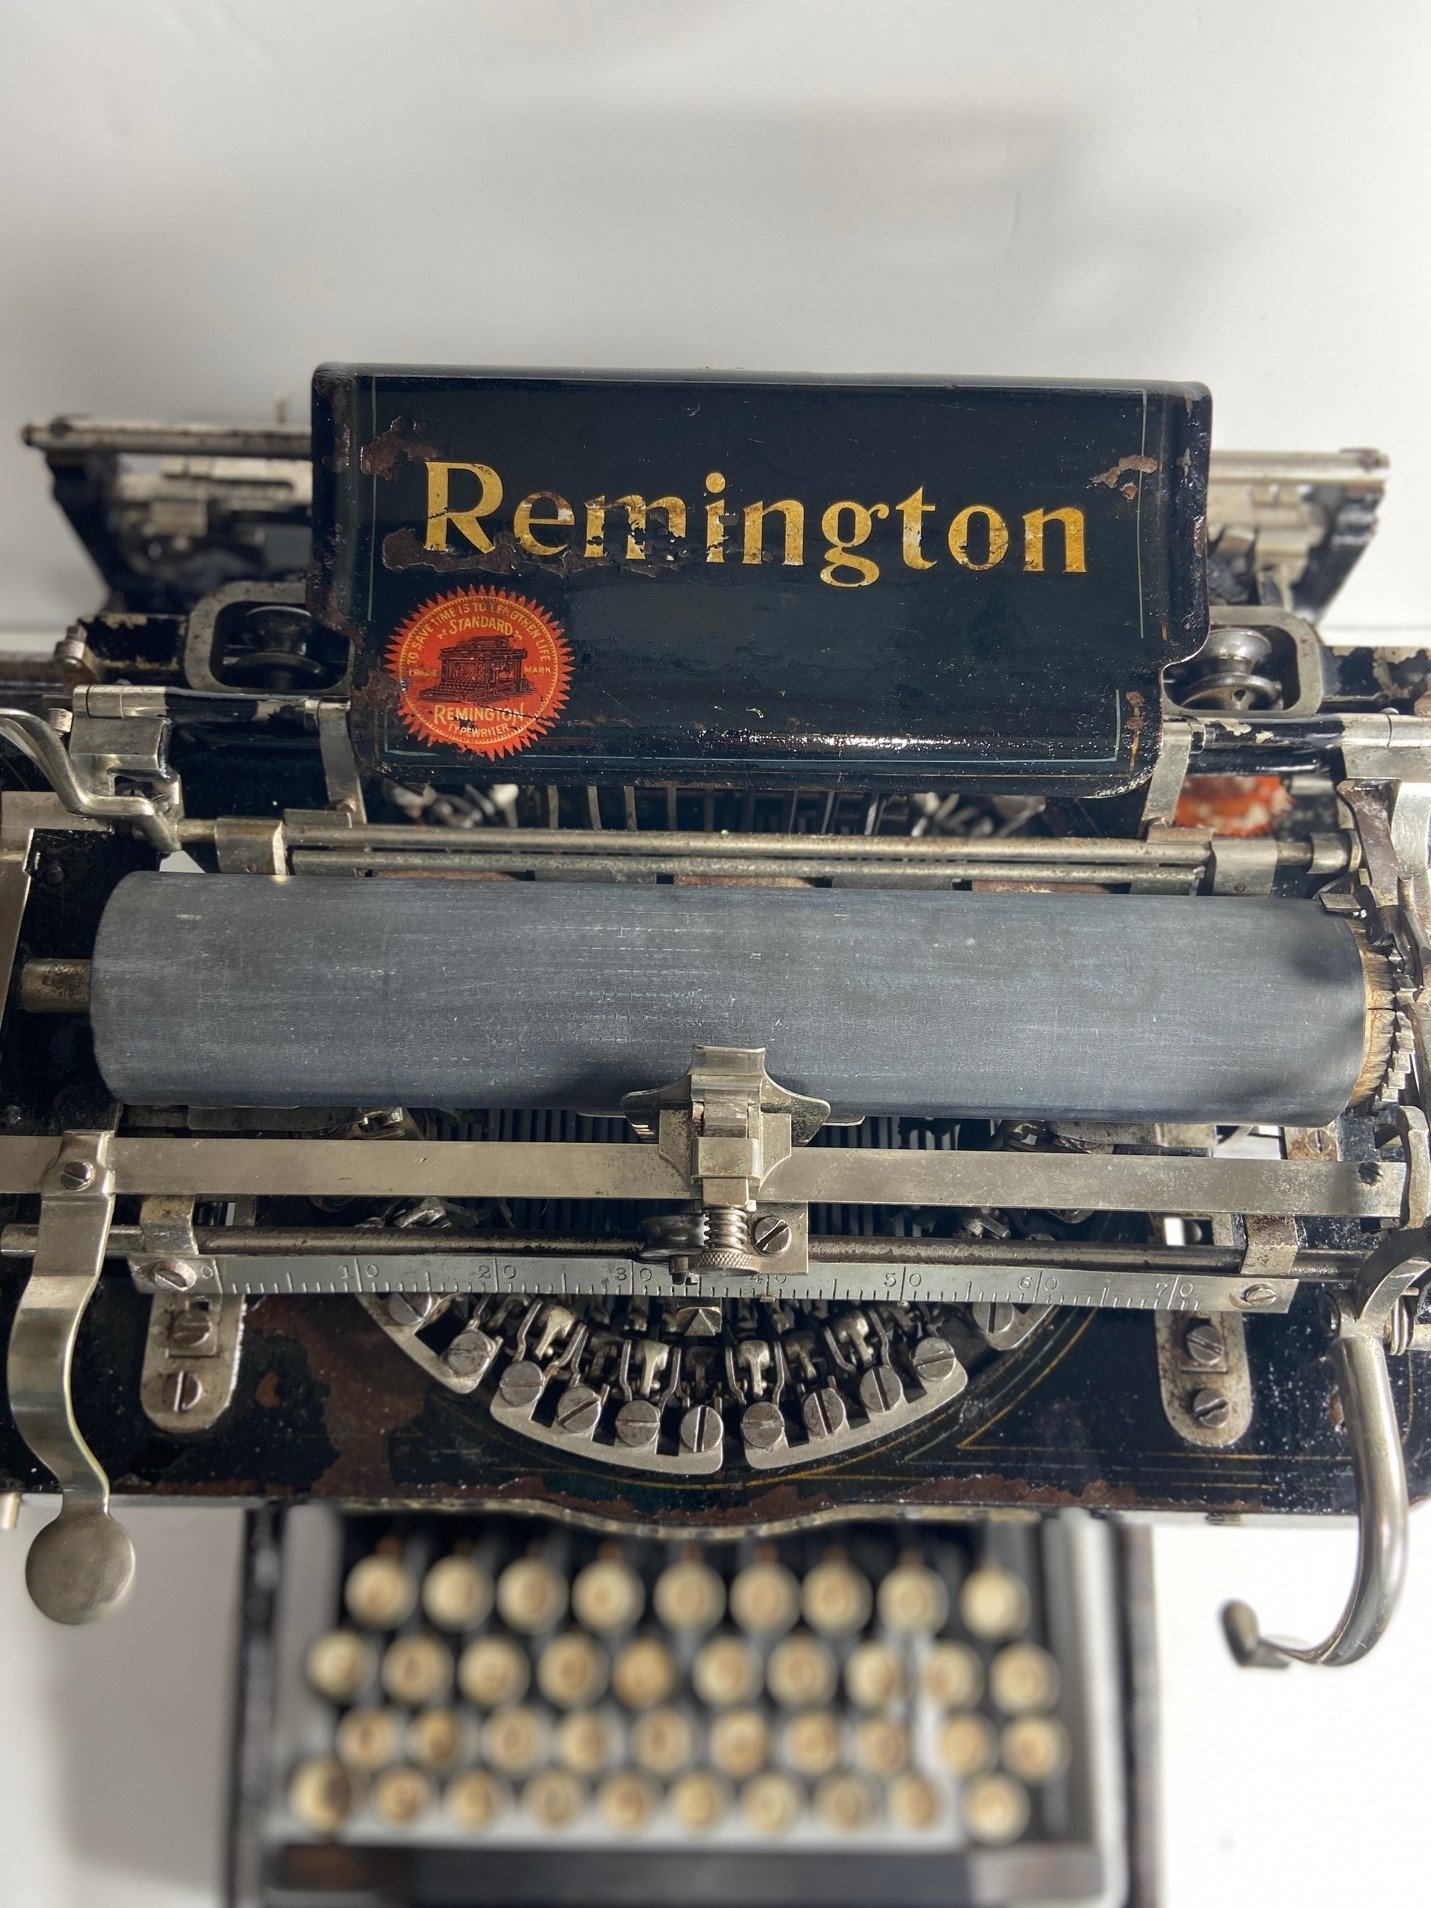
Recently I was presented with a late 1800’s Remington typewriter by the staff at Grant Cottage which they hoped to get back into shape to put on display in the upcoming season. The machine they presented me with was in very bad shape. Much of the paint was gone, there was a lot of rust on the body, keys, and internal parts. I discussed with them the path I was prepared to take being more of a preservationist than a restorationist in bringing the typewriter back to life.
Preservationists tend to preserve what is there and bring the machine back to its former glory, whereas a restorationist would strip the paint, repaint it, apply period correct decals and make the machine look as if it were brand new today. As a preservationist I told them my plan was to thoroughly clean the machine and then see what could be done about the amount of rust on the machine and then attack the actual mechanical workings of the machine.
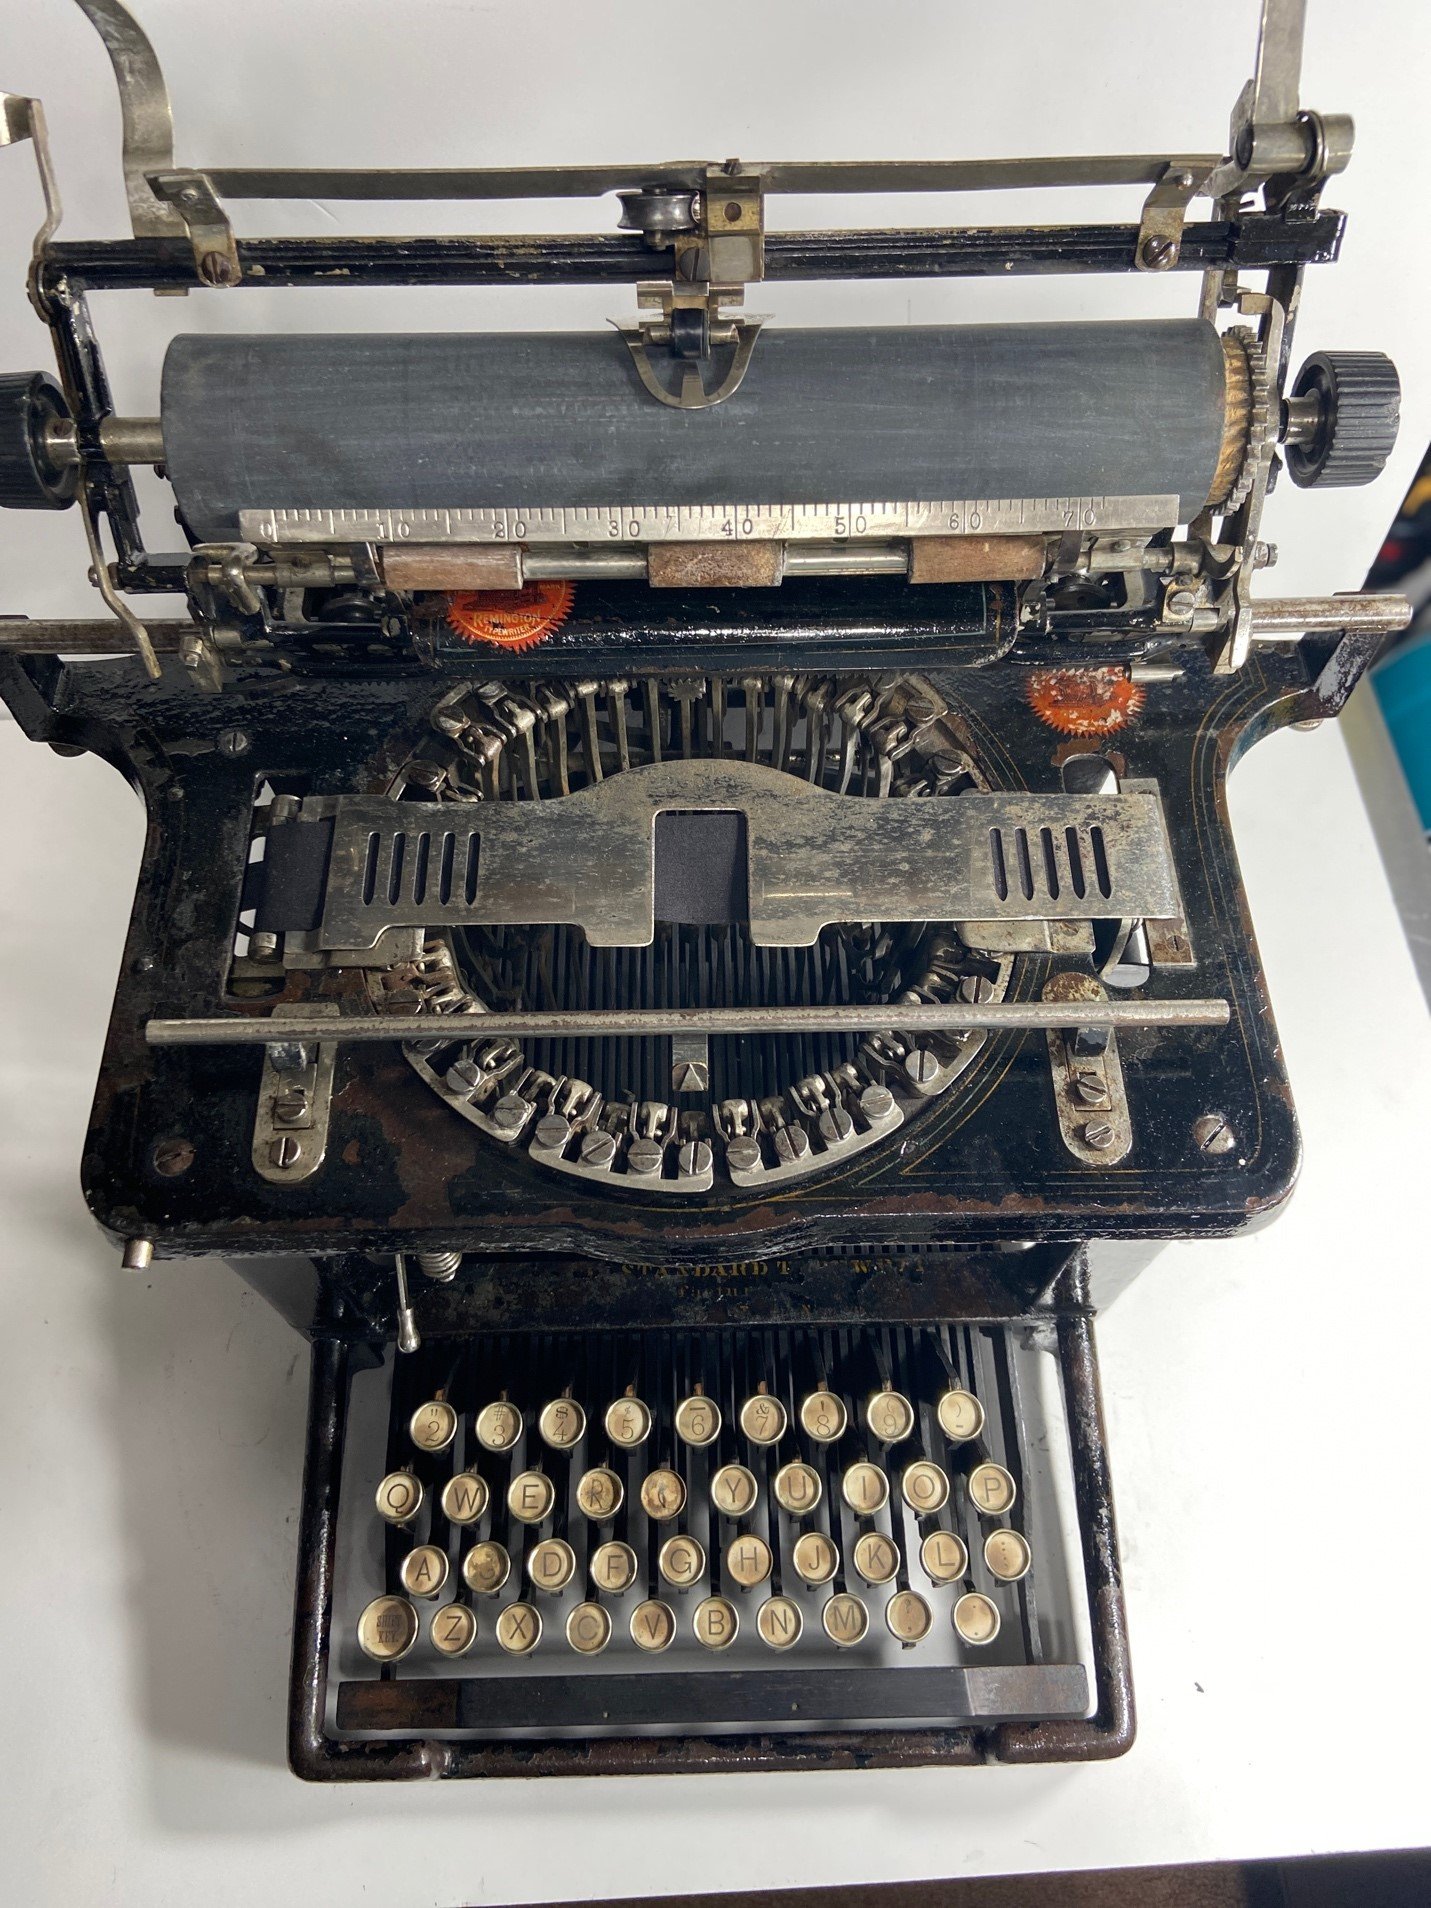
The first step was to clean the frame and body of the machine several times using various cleaning solutions to get all the dirt off. Next, using triple 0 steel wool I began the painstaking process of removing as much surface rust as I could. Next came the process of using a rust remover solution applied only to the rusted areas so as not to damage what remained of the paint. This process is very time consuming and much of it done with fine brushes or Q-tips. This process was repeated several times until the rust had been abated.
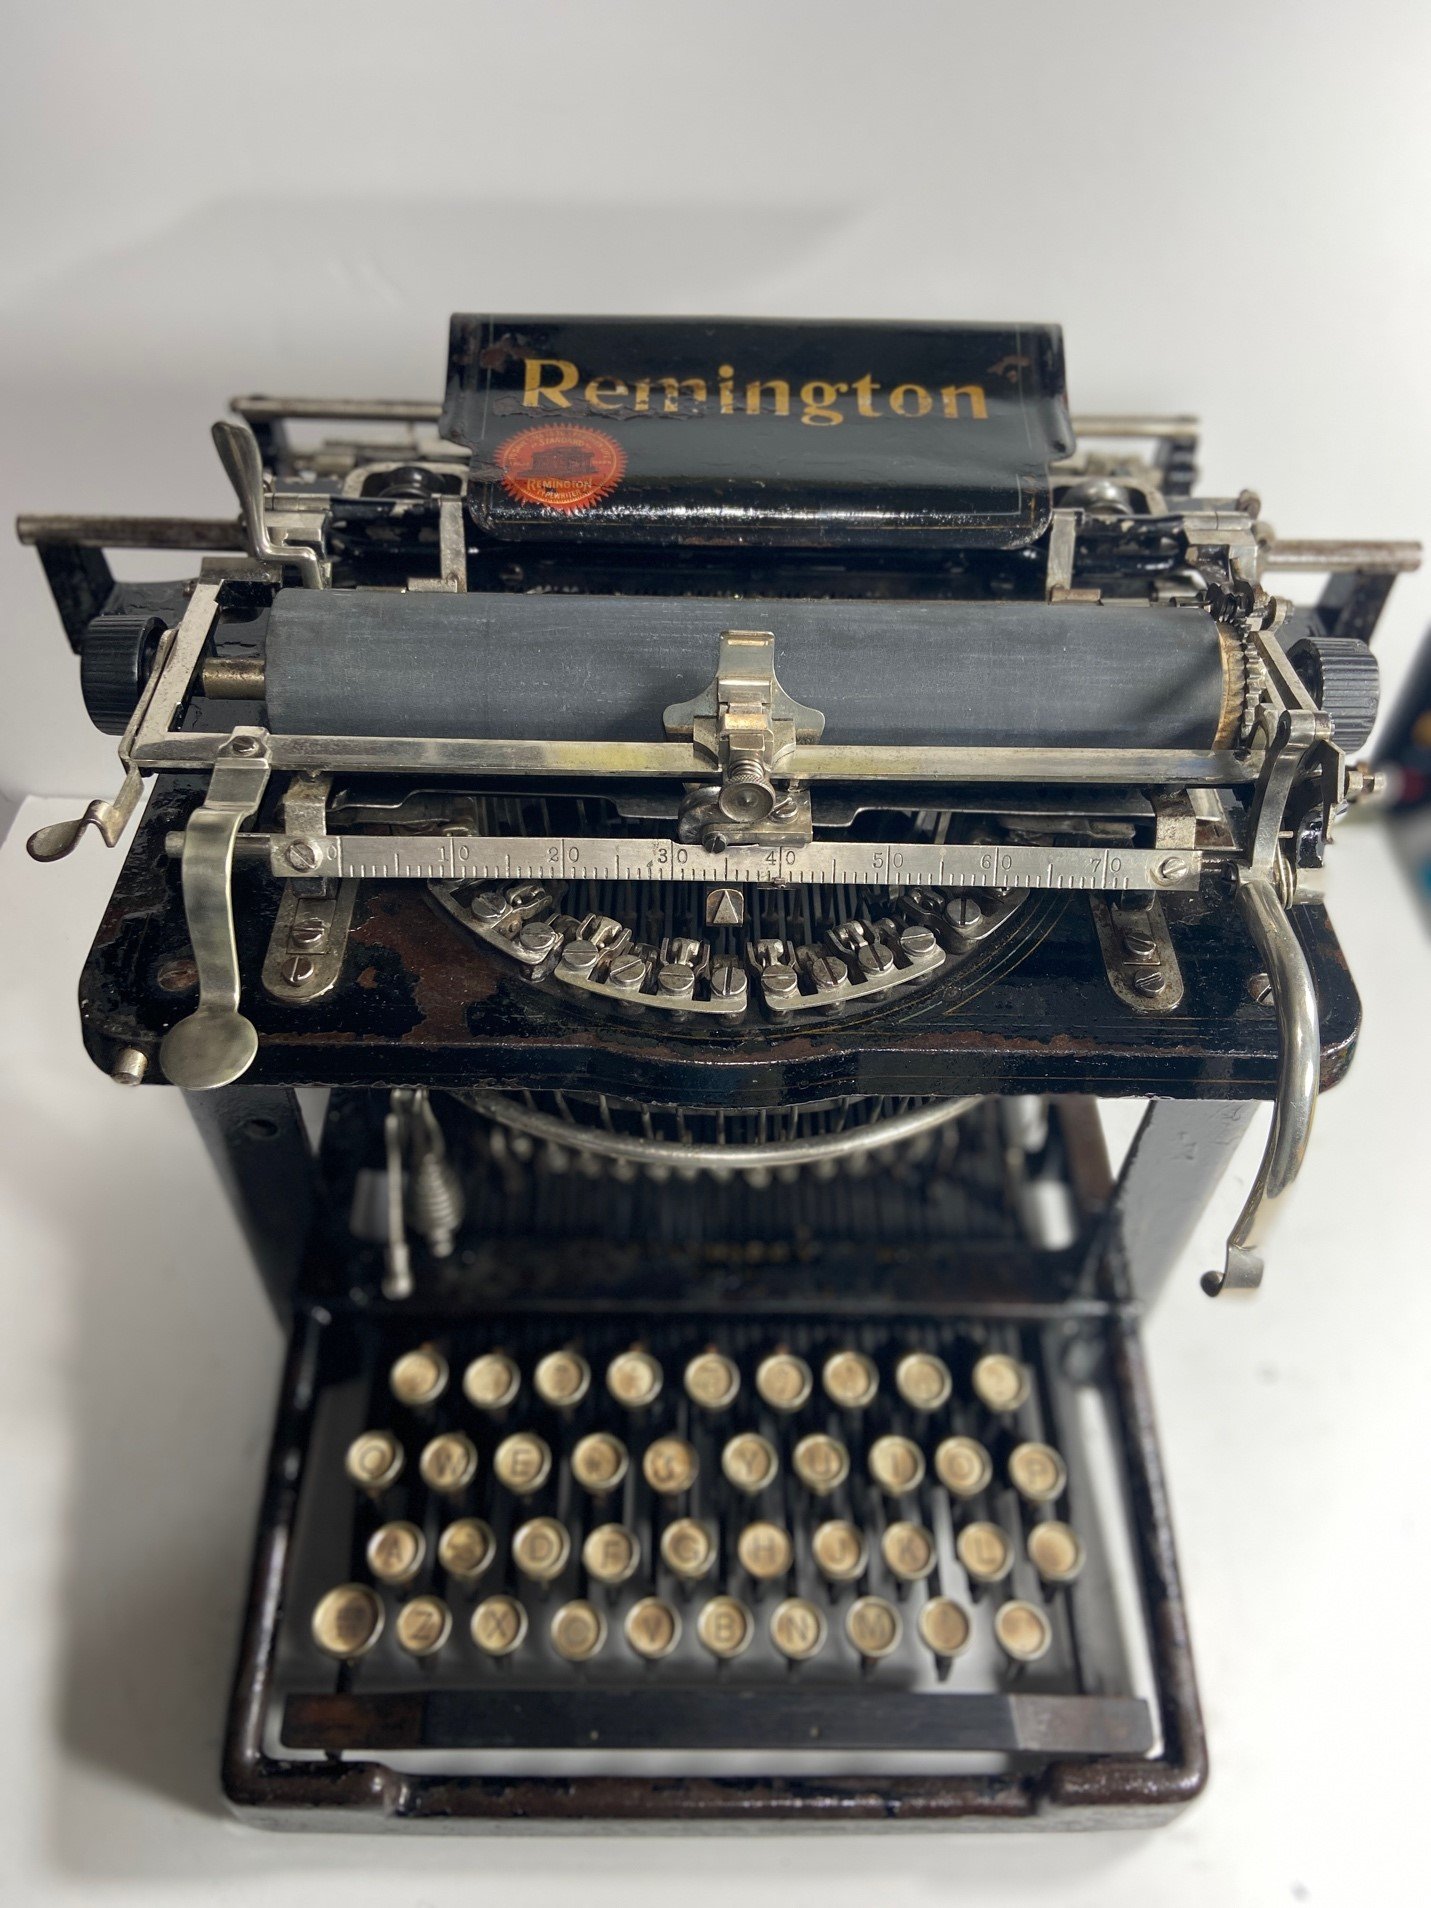
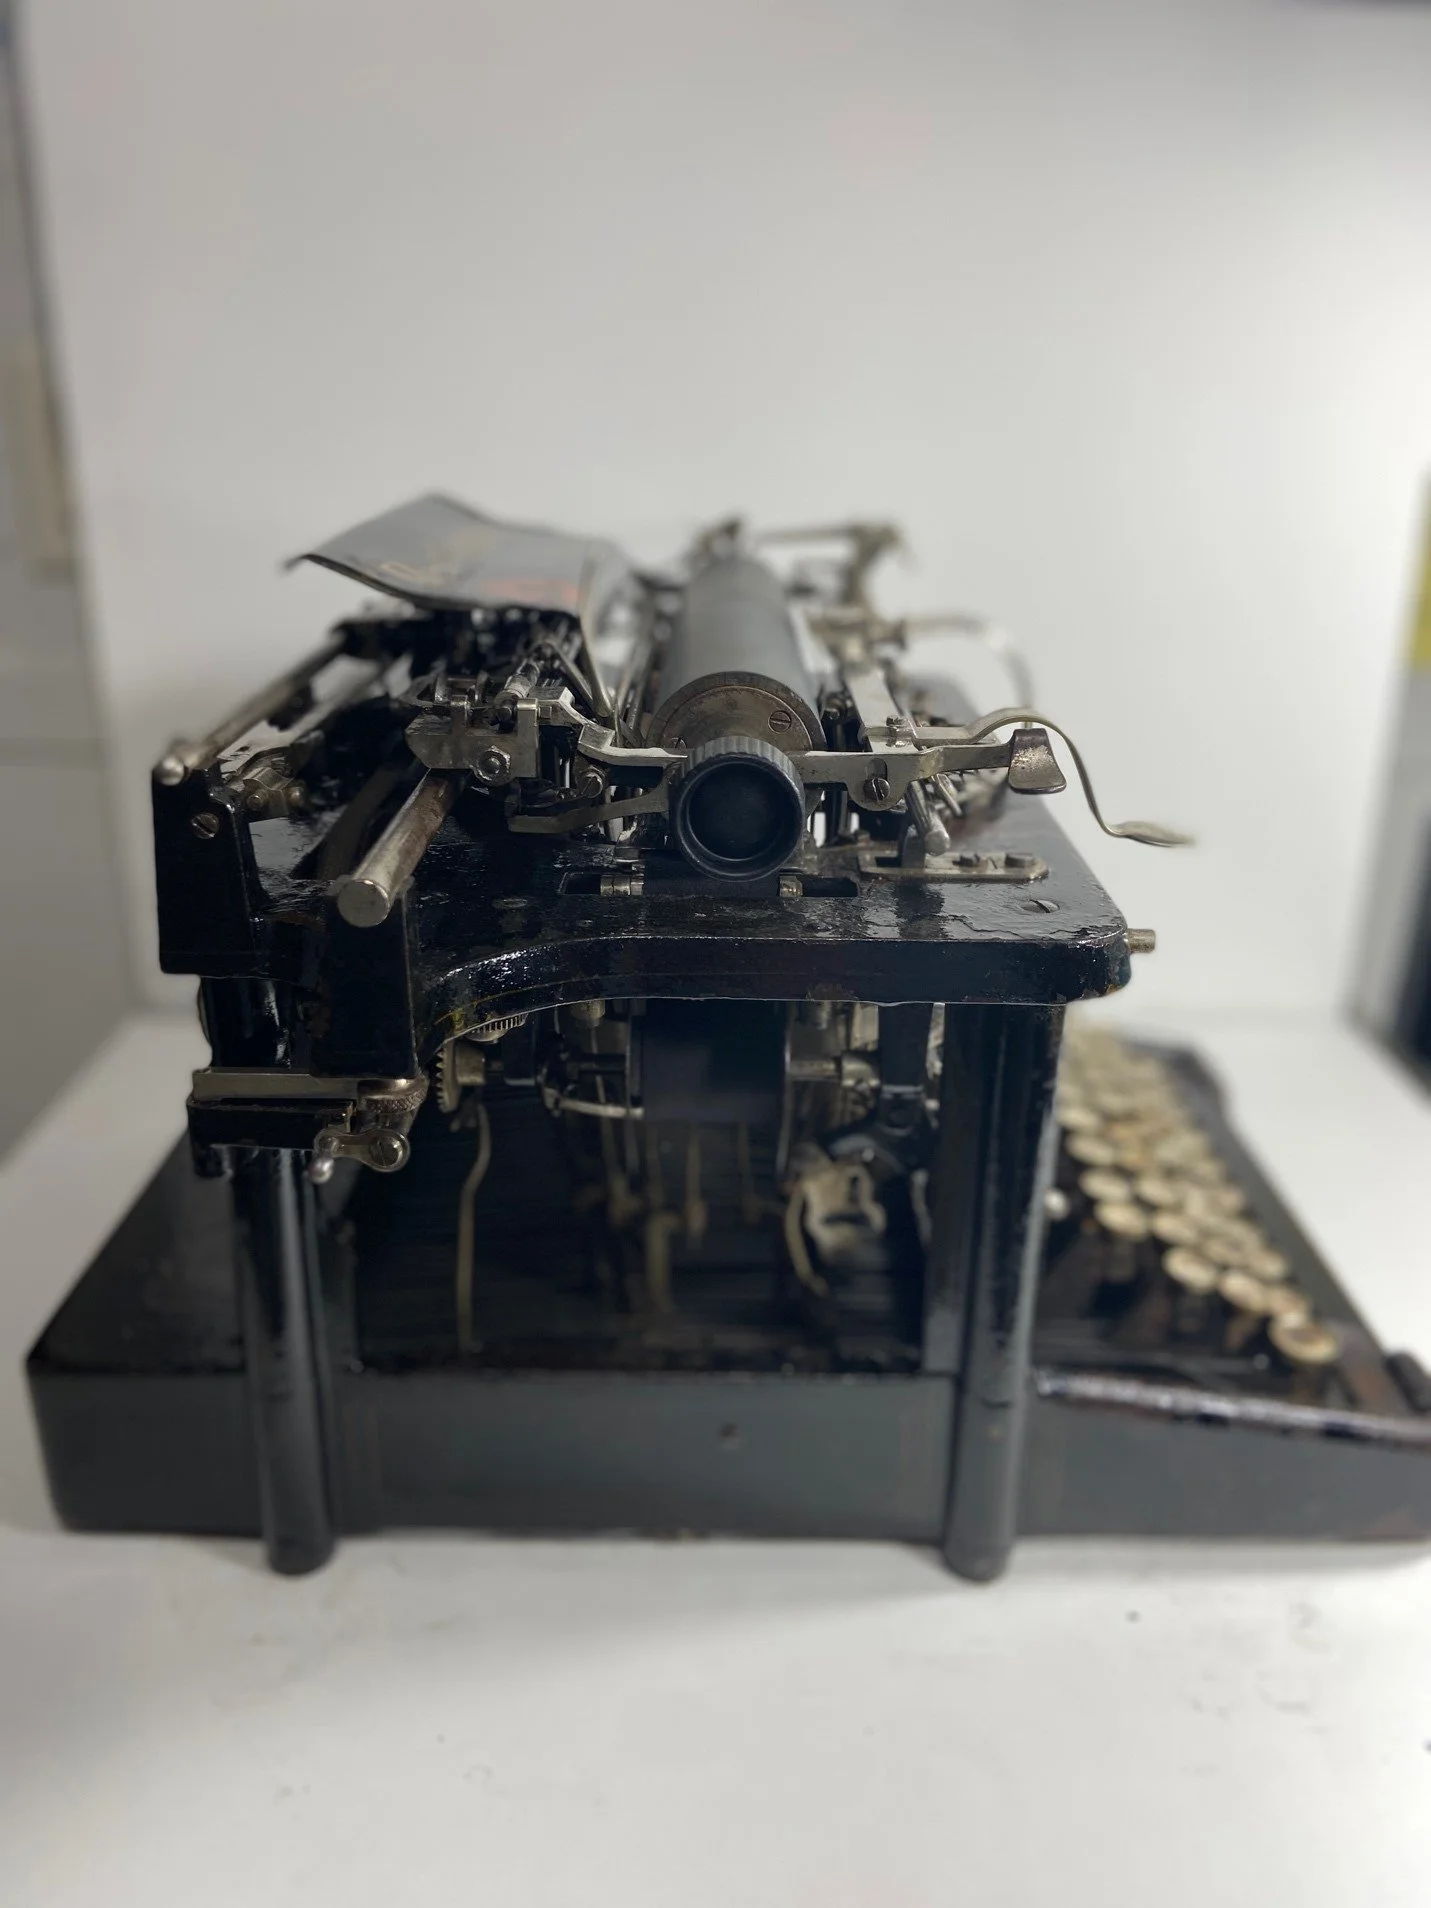
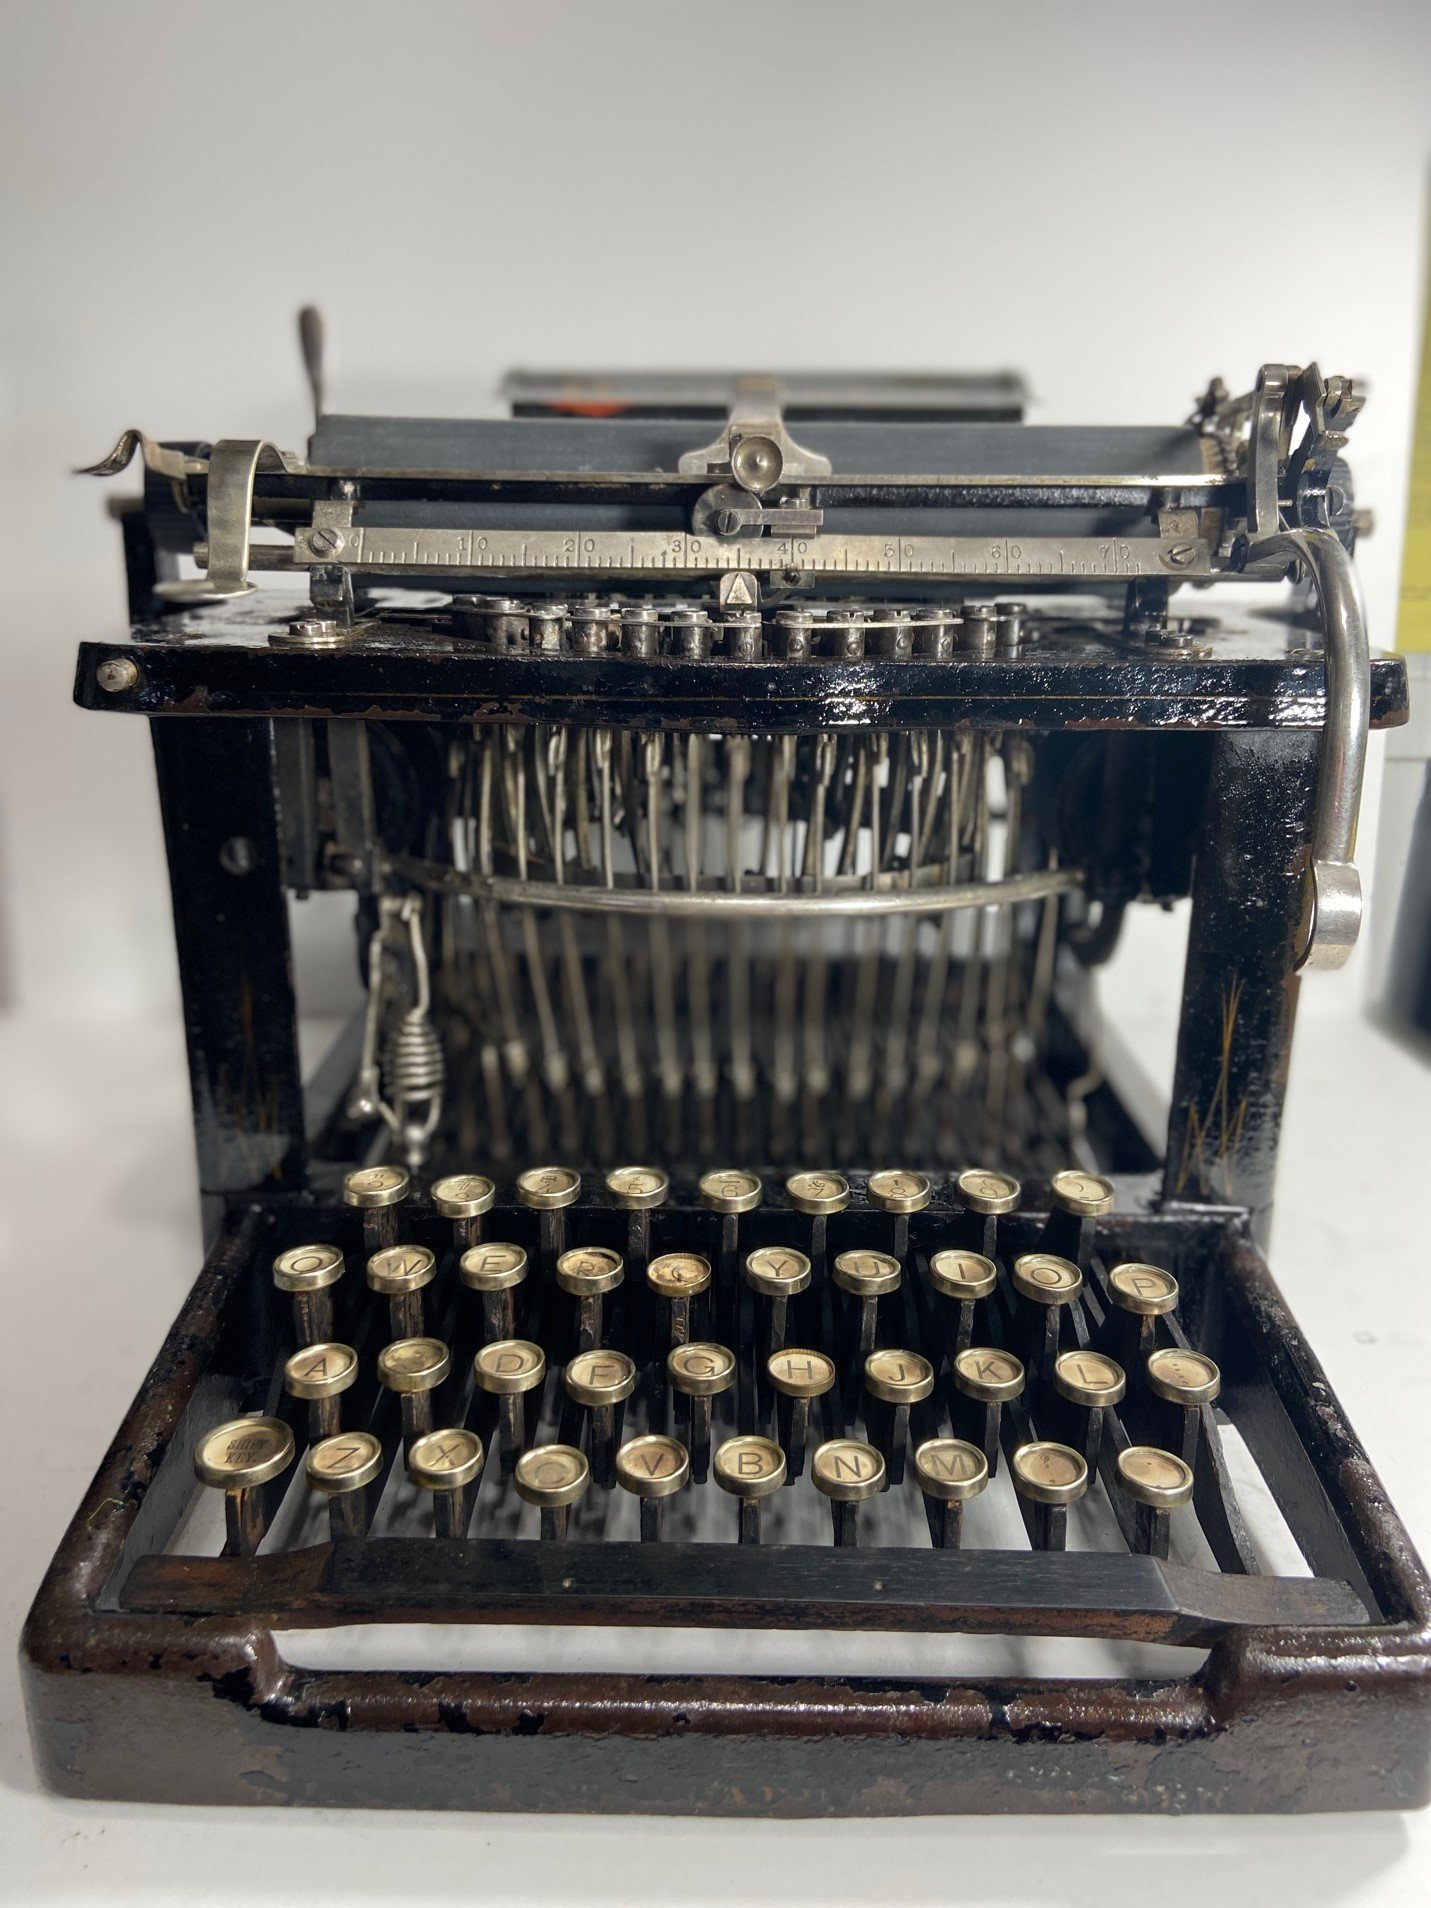
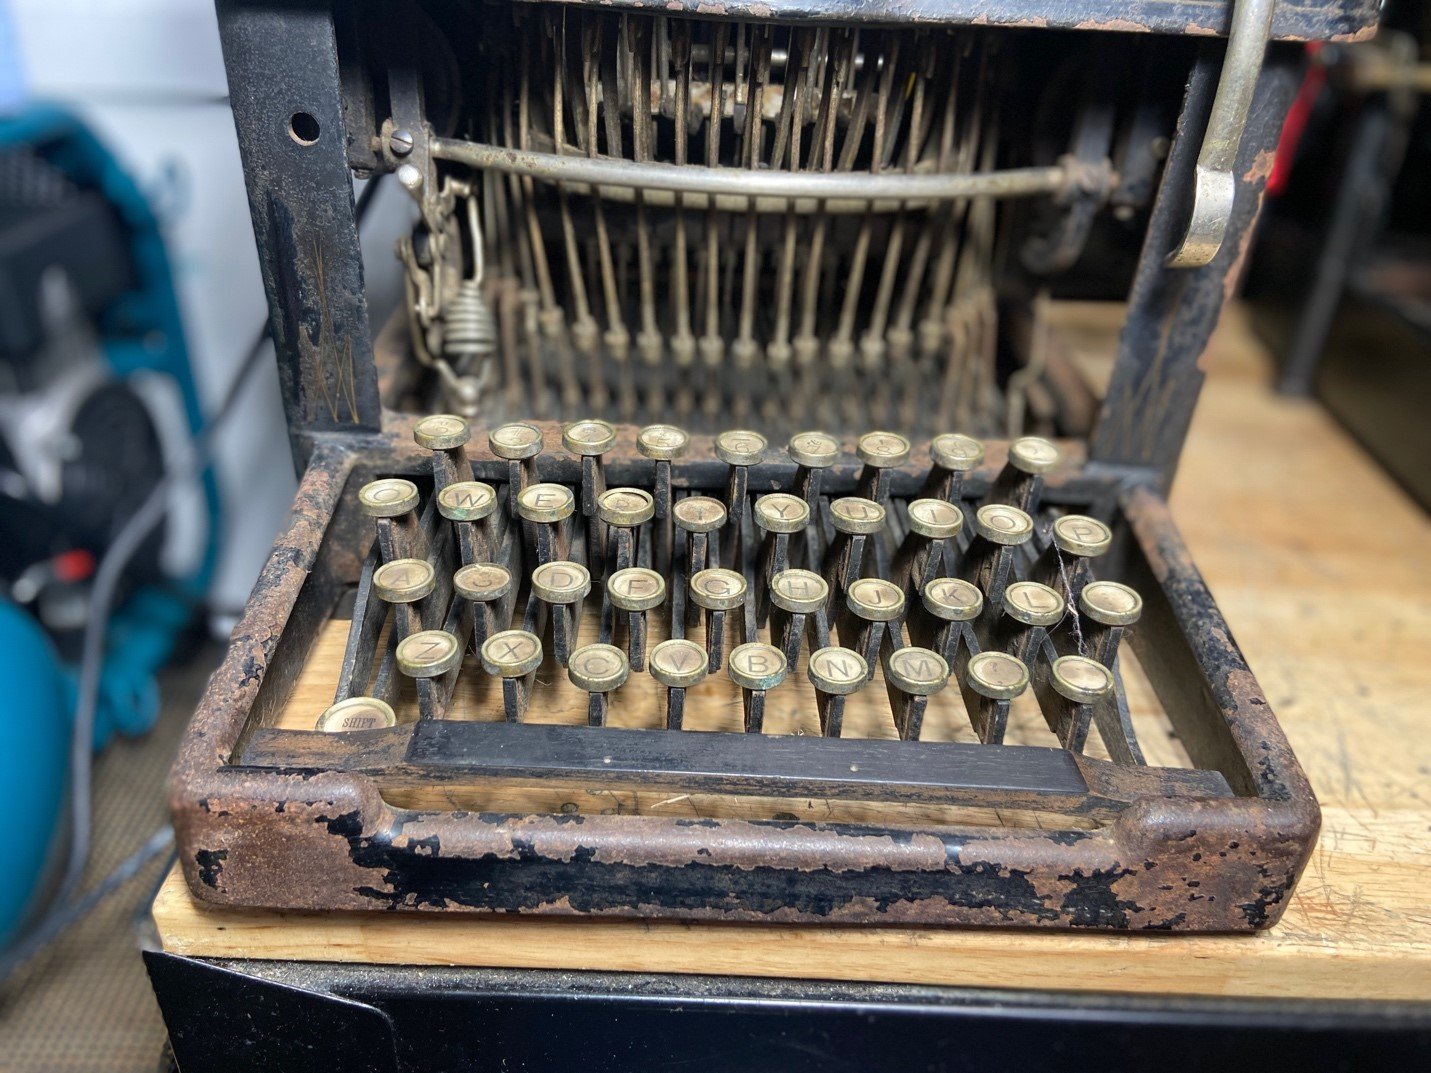
After the frame and body were done, I began the process of working on the rust on the the internal machine including the keys, typebars, and all internal mechanisms of the machine. Next came the chrome which was treated with several coats of metal cleaner and then using a wadding polish to bring back the chrome as much as possible. Next came treatment of the rubber (platen) cylinder which the paper goes around, and the feet. I was able to find replacement feet and treat the rubber to bring life back into it. All the key levers on the machine are made from wood, so each slat of wood was first cleaned with wood cleaner and then a wood polish was applied to each of the slats connecting a letter key to its corresponding typebar.
Once the machine had been cleaned and polished, I applied an oil-based coating additive to the entire machine to seal it and abate the rust. After this I wanted to see if I could indeed get the machine to type. These 1800’s machines are known as “blindwriters” meaning you cannot see what you are typing unless you raise the platen to look at it. The early typewriters such as this are called “upstroke” typewriters as opposed to the modern typewriter we think of today which are referred to as “frontstroke” typewriters. This machine takes a special sized ribbon which I was able to source online. The main impediment was the fact the rubber on the feed rollers (the tiny rubber wheels which feed the paper into the platen) had disintegrated over time. Using black electrical tape, I was able to build the feed rollers out to enough of a circumference where I could actually feed paper and have enough grip so typing became possible. Once the new ribbon was in place, I was able to actually type on the machine and put words on paper.
The Remington typewriter took a few months to complete. A project such as this requires careful planning, and the steps must be done in order so as not to add more work. Each step in the process needed to be fully completed and tested prior to beginning the next step. Preserving a machine such as this means you are only working with the machine at hand and not using parts from another machine. I am proud to say this was a huge accomplishment especially if you view the before and after pictures. It is important to note when looking at the pictures that I DID NOT paint the typewriter, I simply cleaned and treated it as a preservationist would do.